Learn the techniques and equipment needed for stunning Milky Way panoramas, including focus stacking and H-Alpha filtering, from a photographer's experience in Zion.
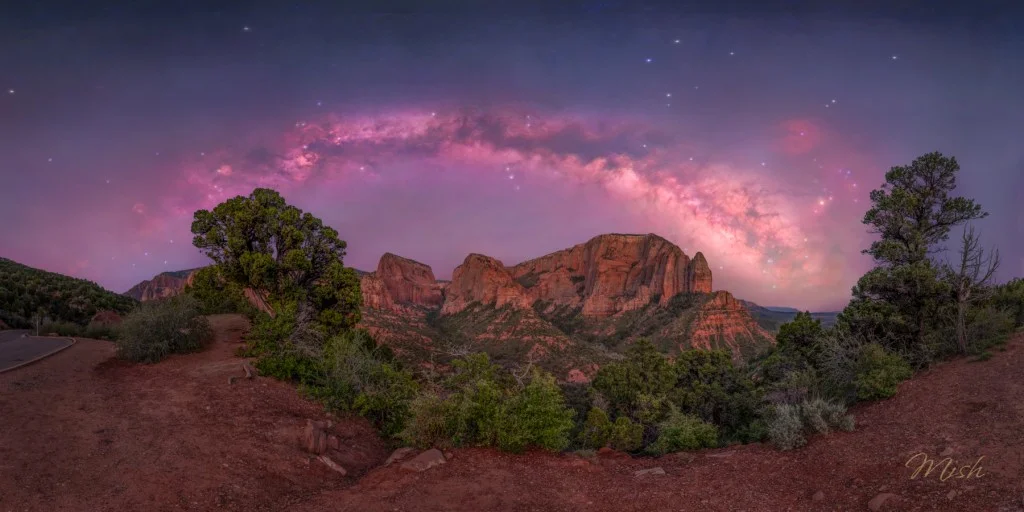
In May, I captured an expansive full-arch image of the Milky Way at the Kolob Canyons section of Zion National Park. The result is a breathtaking panorama that showcases the night sky's brilliance.
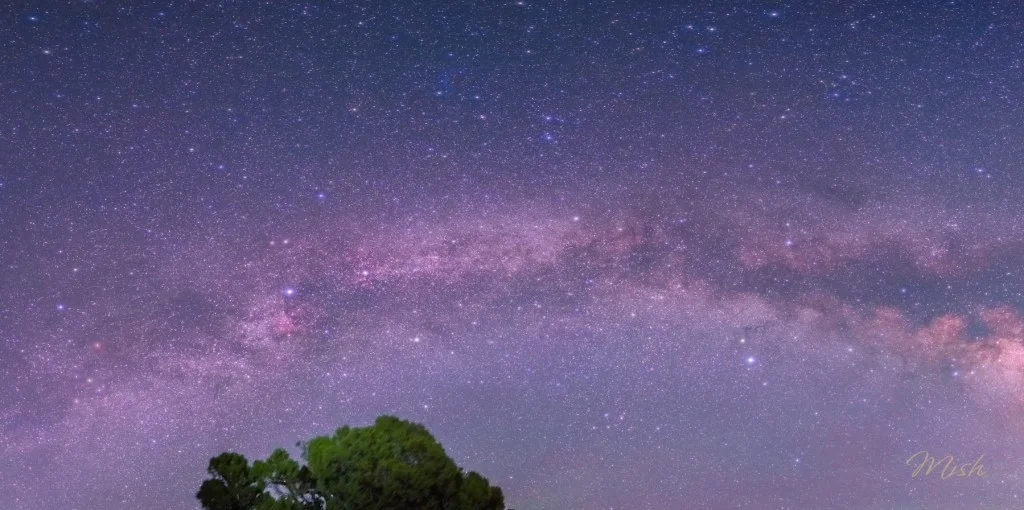
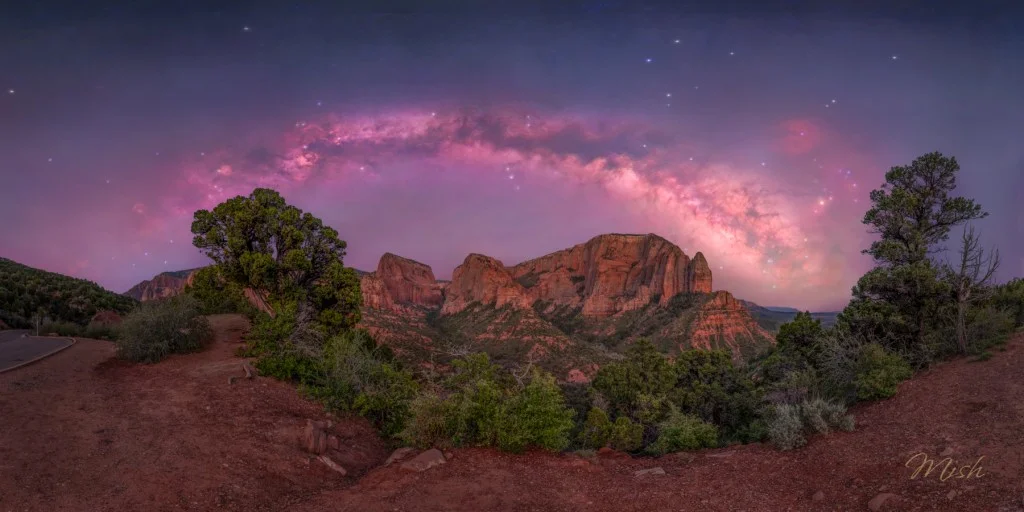
This image is created from a series of three sets of 220-degree panoramas, meticulously stitched, blended, and cropped to approximately 180 degrees for a more cohesive view.
Technical Details of the Capture
Each panorama set consists of 24 images. To ensure clarity, I used a technique called focus stacking. For land images, I captured three focus-stacked shots, eight images wide, while the night sky images also went through a three-image stack to reduce noise, with each one focused at infinity. Additionally, I included a third set dedicated to capturing a narrow band of red light known as H-Alpha, resulting in a total of 72 blended images to create the final panoramic result.
It’s worth noting that I positioned myself slightly closer to some trees for the land image, which resulted in a few minor issues with Milky Way clearance on one edge of the composition.
Managing Star Density
The challenge of capturing the vast night sky is evident, especially when the final image reveals numerous stars—over 250,000, in fact. For my first night panorama, I tilted my camera upward to capture more sky proportionately.
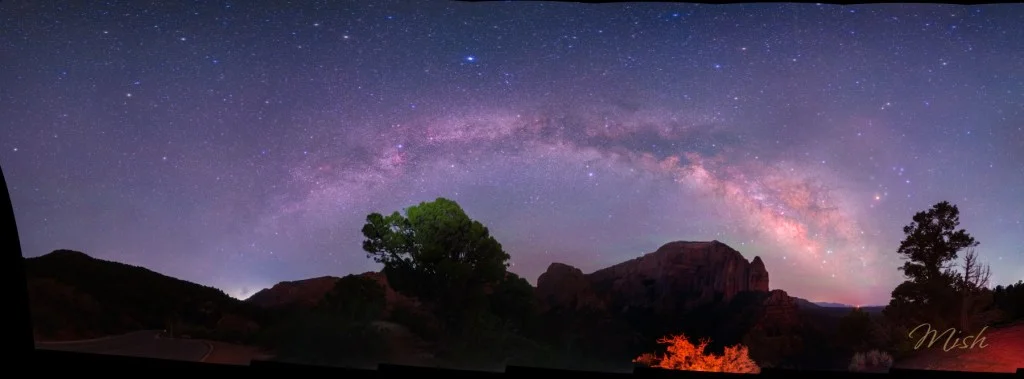
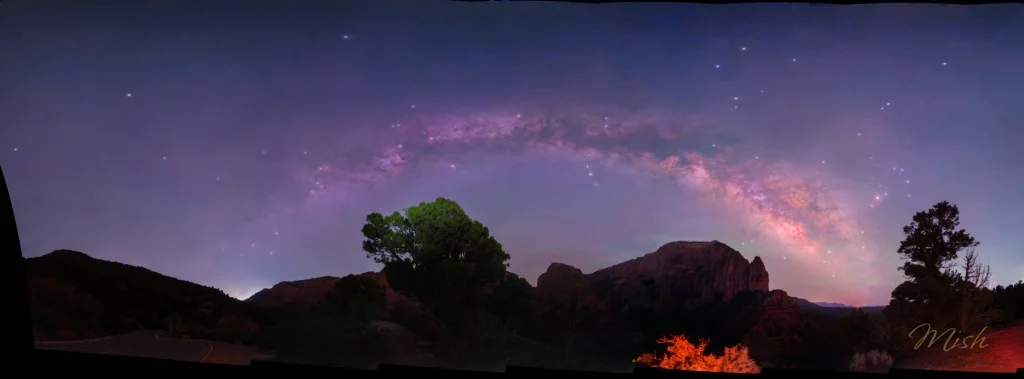
The application I used for merging revealed an astonishing count of over 44,000 stars in just one vertical panel, which is only an eighth of the overall frame. A fast lens and precise tracking allowed me to capture more stars than necessary; while some photographers enjoy this abundance, my preference is to highlight the Milky Way's intricate structure instead.
Various applications can help remove excess stars, but the results aren't always perfect. The challenge comes when trying to reintroduce specific stars back into the image to enhance the final composition.
Working with H-Alpha Filters
The H-Alpha sequence captures only a specific wavelength of red light, effectively blocking other wavelengths. It’s particularly valuable for highlighting the glow of red nebulas in the night sky.
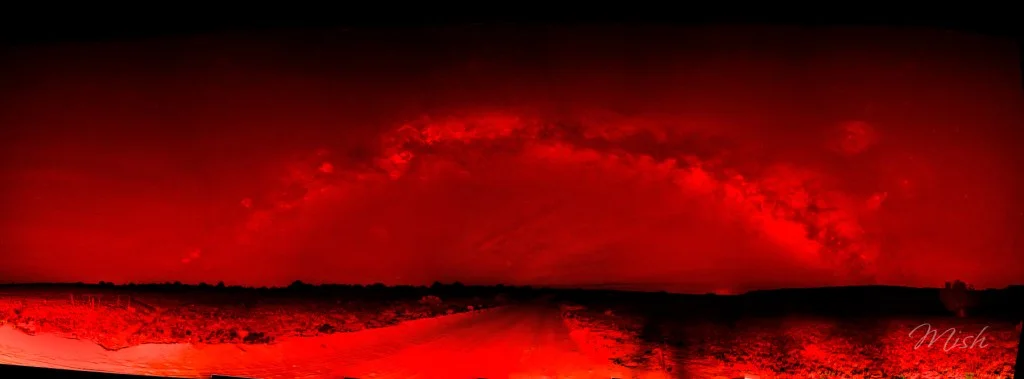
However, focusing while using H-Alpha filters can pose a significant challenge, especially for Canon users, as they tend to block so much light that autofocus systems struggle. Instead, I focus during the daytime on a distant object visible from my backyard—taping my lens to maintain the focus. Sony users, take note: their cameras often include a night mode, which eases focusing considerably.
The Importance of Star Trackers
I rely on a Benro Polaris star tracker to maintain image clarity while photographing celestial bodies. This device rotates at the same speed as the Milky Way, allowing me to capture the stars without motion blur; however, I need to capture the landscape separately. Generally, I shoot land images just after sunset during the blue hour to avoid direct lighting issues.
If you're interested in the ins and outs of star trackers, or are considering one for your astrophotography, check out my detailed review of the Benro Polaris here. This review discusses equipment requirements and nuances of using H-Alpha filters, notably that capturing H-Alpha emissions necessitates a specially modified camera.
Is a Star Tracker Right for You?
Ultimately, the decision to invest in a star tracker depends on how much time and effort you're willing to commit to the learning curve associated with hardware and software. The good news is that you don't necessarily need modified cameras or H-Alpha filters to benefit from a star tracker. The essential skills build progressively rather than all at once.
In my review, I cover the Benro Polaris's learning curve, common challenges faced by users, and relevant camera-specific issues, particularly between Canon and Nikon systems, compared to the experiences of Sony users.
Equipment Choices
The images presented were captured using the remarkable RF-mount 20mm f/1.4 Canon lens at an aperture of f/2.0 (and f/1.8 for the H-Alpha shots) on a modified R5 camera. This lens is praised not only for its low-light performance but also for its suitability in wide panoramic shots, striking a balance between 14mm and 24mm focal lengths that often don't suit my aesthetic.
However, even at f/1.4, obtaining focus with the H-Alpha can be tricky.
For those interested in my complete equipment list and recommendations, this link provides insight into my choices.
Looking ahead, expect more posts on Milky Way photography, including stunning shots from Bryce Canyon and Escalante.
Happy shooting!
Mike “Mish” Shedlock