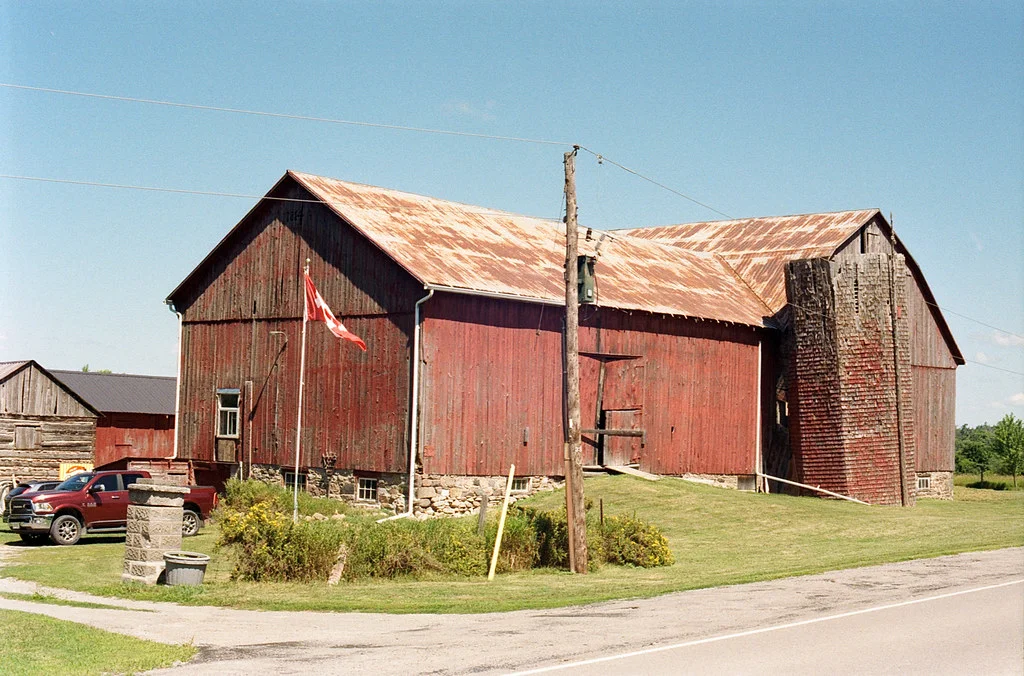
Lightroom's new localized curves feature revolutionizes photo editing, offering precise control over tonal adjustments that can streamline your workflow.

The evolution of photo editing software has been significant over the years, with many tools striving to enhance the flexibility and precision that photographers seek. One of the standout advancements in Adobe Lightroom has been the introduction of localized curves, a feature that fundamentally transforms how users can manipulate tonal adjustments within their images.

From Global to Localized Control
Traditionally, Lightroom offered a singular global curve per image. This confined photographers to making broad adjustments that impacted the entirety of their photographs. While effective for some, this approach limited the creative potential for intricate editing. The introduction of localized curves shifts this paradigm, allowing users to apply unique curve adjustments to different areas of an image. Each brush or mask used in Lightroom now features its own curve control, providing an unprecedented level of detail and customization.
The Impact of Localized Curves on Workflow
This new capability is monumental for anyone invested in detailed editing. Photographers can now make nuanced adjustments to shadows, midtones, and highlights without affecting the overall image. For instance, when working on a landscape photograph, you can brighten the sky while simultaneously deepening the shadows of the foreground elements, leading to a more dynamic and balanced composition.
In practice, this means that seasoned users or beginners alike can achieve professional-level results with more straightforward methods. For those who haven't ventured deeply into the world of curves, mastering this tool can be a game-changer.
A Step-by-Step Approach to Using Localized Curves
To effectively harness the power of localized curves, here’s a step-by-step approach to implement them in your workflow:
- Open Your Image: Begin by importing the image you want to edit into Lightroom. Make sure you’re in the Develop module for full access to editing tools.
- Select the Brush or Mask: Choose either the Adjustment Brush or a local mask. This will allow you to isolate the section of the image you want to adjust.
- Access the Curves Tool: Once you have brushed over your selected area, navigate to the Curves section within the local adjustments panel. This is where the magic happens.
- Adjust the Curve: Click and drag points on the curve. Moving points upwards lightens the pixels, while moving them down darkens. You can create custom shapes in your curve to refine specific tonal areas effectively.
- Fine-Tune Your Adjustments: Take your time to toggle back and forth between your adjustments and the original image to see how subtle changes can affect the overall look.
- Combine with Other Tools: Use localized curves in conjunction with other tools like Clarity, Exposure, and Color adjustments for optimal results.
Learning Resources and Future Directions
For those eager to delve deeper into the potential of localized curves, consider following dedicated tutorials or exploring comprehensive e-books. They can be an invaluable resource to demystify this feature and elevate your editing proficiency. The upcoming e-book mentioned in this article promises to provide intricate details on using curves effectively—not only as a tool for tonal adjustment but as a comprehensive control system within Lightroom.
As of now, many users may not be fully utilizing localized curves, either due to unfamiliarity or a more traditional approach to photo editing. However, embracing this feature can minimize the reliance on external software like Photoshop for tonal adjustments. The efficiency gained through mastering localized curves truly allows photographers to streamline their editing workflows.
The Future of Editing with Curves
Incorporating localized curves opens new doors for creativity. With precise control at your fingers, there's potential for photographers to experiment more boldly with their images, crafting stunning visuals that stand apart. As Lightroom continues to evolve, learning to leverage new features like these will set you apart as an adept editor who isn’t afraid to make impactful adjustments.
Ultimately, the integration of localized curves in Lightroom represents a significant leap forward in photo editing. Whether you’re working on portraits, landscapes, or product photography, mastering this tool can drastically enhance your output quality and efficiency. The artistic possibilities are vast, and with the right knowledge, photographers can elevate their work to new heights.